


My Little One loves using a water slide in the backyard in the summer. It is an awesome way for her to have some fun and cool down.
The latest water slide that we have been using is the H2O Go.
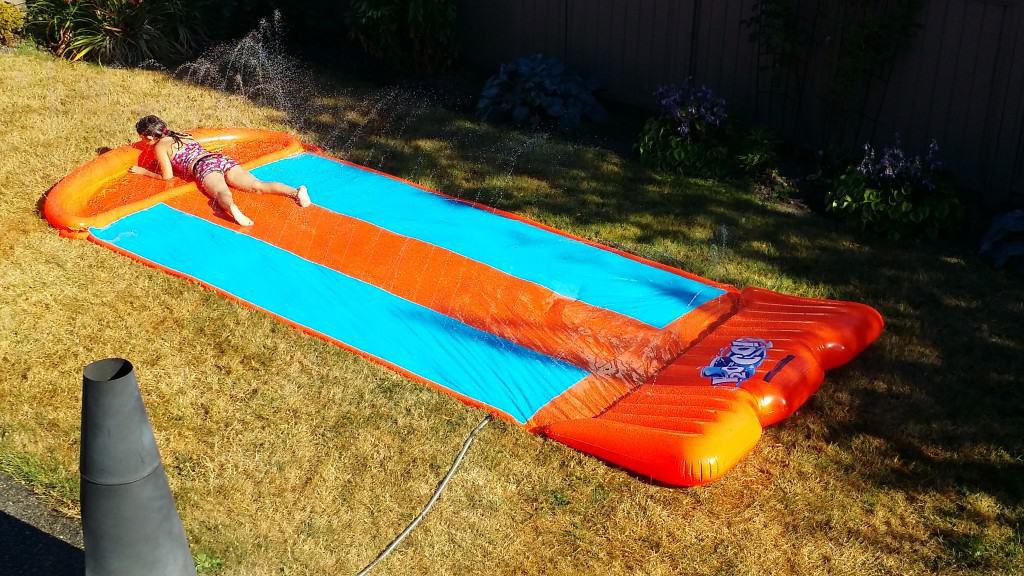
The H2O Go comes in three sizes: Single Slide, Double Slide, and the Triple Slide that you see my Little One using above.
Here are the details about the different H2O Go slides….
H2O-GO with the SPEED RAMP provides a soft landing and glides you onto the slide for the smoothest, wettest, fastest ride!
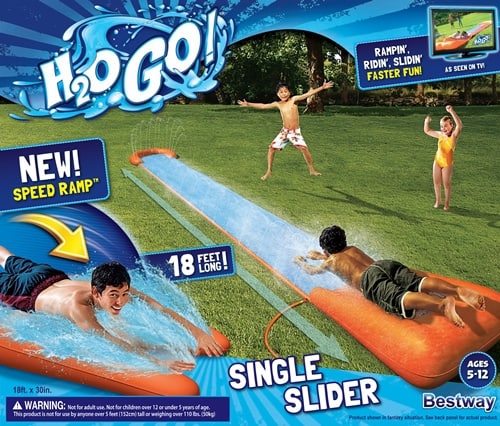
INCLUDES:
1 Single Water Slide
2 Hose Nozzle Connectors
1 Repair Patch.
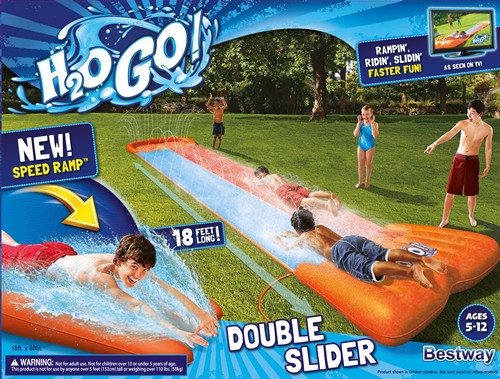
INCLUDES:
1 Double Water Slide
2 Hose Nozzle Connectors
1 Repair Patch.
Here are the instructions for Set Up…
1. Clear set-up area of any debris.
2. Fill the Speed Ramp™ with water to anchor and inflate.
3. Connect your garden hose and GO!
I will start by saying the my Little One absolutely loves her Triple Ramp H2O Go.
I have to say that I have read a little on the internet indicating that the instructions are not clear. Here is some clarification as we were confused at first as well.
The main Speed Ramp is inflated with air. The part of the Speed Ramp that you fill with water are two separate bladders on each side of the Speed Ramp. When these two bladders are filled with water, the weight helps anchor the ramp. One our Triple Ramp there are two black spike anchors that you also put one on the left and one on the right of each of the two bladders that you filled with water.
The H2O Go comes with two water/hose attachments. Pick the one that you need for your hose. Only one of the two attachments will fit your hose. You fill the exterior part that runs around the water slide by connecting the hose on the left side valve that is just in front of the Speed Ramp.
Here are some things that I recommend to make your time with the H2O Go fun and easy….
*Make sure to clear rocks and debris from under the slide.
*Inflate the Speed Ramp with air first, then the two water bladders. Anchor the slide with the two spikes. Attached the hose and turn on.
*As the water slide fills, adjust the edges around to help spread the slide out and have the water pointing and hitting the slide.
*When taking the slide down, make sure to open all 4 drain holes before moving the slide. There are two drain holes at each end. Once the slide is drained you can deflate the Speed Ramp.
*Do not leave the H2O Go out in the sun. The sun will make the plastic hot and weak which can cause it to tear or rip.
*Once fully empty, put the H2O Go slide somewhere to dry out. We hang ours over stuff in the garage or in the shade so the sun does not weaken the plastic.
I have to mention that there have been instances where people have indicated that the H2O Go slide has split. To prevent this, make sure that you are not moving the slide around with water in it, clean the area of any debris, and do not leave the slide in the sun allowing it to weaken the slide.
If your slide has a seam that lets go, contact the store that you bought it from or the company and let them know. I spoke to a representative from H2O Go and they indicated that to ensure the durability of the H2O Go slide, that they are now making the slides out of a stronger gauge of material. Even with a stronger gauge of material, I always recommend that you look after the slide as above.
So how much fun is the H2O Go? Well check out their video that shows all three types of slides and ramps…
You can find the H2O Go in any of the retailers listed HERE. You can also find them on the internet at Amazon Canada and Amazon USA.
Enter for a chance to win a H2O Go Triple Ramp slide. This giveaway is open to residents of Canada and the US over the age of 18 and where permitted by local laws to enter and win giveaways. Please ensure that you read the full terms and conditions found at the bottom of the entry form.
Disclosure: MomMomOnTheGo was provided product for the purpose of conducting this review. As always, MomMomOnTheGo only supports companies, products, and services that she loves.
